
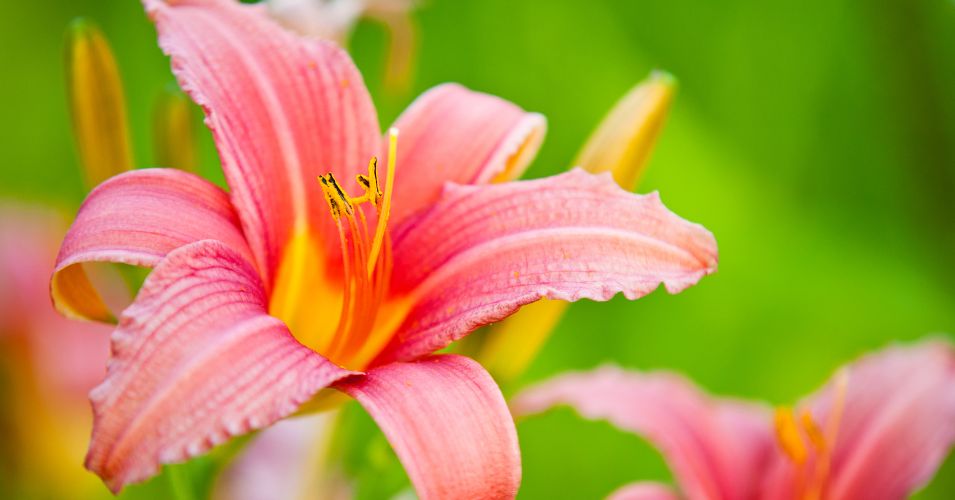
Daylilies ask for very little during the growing season, but a few fall jobs are worth doing before cold weather arrives. By this point, the flowers have faded, the leaves are beginning to yellow, and once-full clumps may look rather untidy.
No need to rush outside and cut everything down at once.
Fall care is more about watching the plants and responding at the right time. Some daylilies need dividing, newly planted ones may still need water, and colder gardens can benefit from winter mulch.
A thoughtful cleanup now can also prevent unnecessary problems and give plants a healthy start next spring.
Cut Back and Clean Up Daylilies in Fall
By fall, daylilies can look pretty tired. The flowers are long gone, the leaves may be yellowing at the tips, and dry flower stalks often stick up from the middle of the plant. This untidy stage is normal, but it also signals that cleanup time is approaching.
Begin with the old flower stalks. Once blooming is finished, cut the stalks near the plant’s base. If seed pods have formed and you don’t plan to collect them, remove those too.
Then turn your attention to the leaves.
You do not have to cut down a daylily just because the calendar says fall. Healthy green leaves are still doing their job, so there is little reason to remove them early. Instead, wait until the foliage starts to yellow, brown, or collapse naturally.
Dormant daylilies usually make the decision easy. Their leaves die back as cold weather arrives. Once most of the foliage has turned brown, cut it down to a few inches above the ground.
Evergreen and semi-evergreen daylilies are slightly different. They may hold onto green foliage much longer, particularly in mild winters, so remove damaged or dead leaves rather than automatically cutting everything back.
While you are working, take a look around the base of each plant. Old leaves, weeds, spent flowers, and other garden debris tend to collect between daylily fans. Clearing this material improves airflow and removes damp hiding places pests enjoy.
Be especially careful with leaves that are heavily spotted, discolored, or showing other signs of disease. Rather than leaving them on the soil or casually adding them to the compost pile, remove them from the bed.
There is no prize for making daylilies perfectly tidy before winter.
The goal is to remove dead and unhealthy material while leaving useful green foliage until the plant is ready to let it go.
Divide and Transplant Daylilies Before Winter
Daylilies are not shy about spreading. Give a healthy plant a few years in a comfortable spot, and that small clump can become a dense bundle of leaves, crowns, and tangled roots.
That does not mean every large daylily needs dividing. If a mature clump still looks healthy and produces plenty of flowers, you can leave it alone. Division becomes more useful when flowering starts to decline, the clump’s center loses vigor, or the plant becomes too large for its space.
Early fall can be a good time to tackle the job because the worst summer heat has passed.
There is one catch. Newly divided plants need time to establish roots before hard freezes arrive, so gardeners in colder regions should divide early enough to allow several weeks of root growth; if winter tends to arrive quickly where you live, waiting until spring is a better choice.
When the timing is right, dig around the clump with a garden fork or shovel and lift the whole plant from the soil. Daylily roots can form a surprisingly substantial mass, so work around the outside rather than chopping straight through the center.
Knock off some of the loose soil and look for natural places where the clump can be separated. Smaller plants may pull apart by hand. Older, stubborn clumps sometimes need two garden forks or a clean, sharp tool to persuade them apart.
Each division should have healthy roots and several good fans of leaves. Trim away roots that are mushy, badly damaged, or rotten.
Replant the divisions promptly rather than leaving the exposed roots sitting around the garden.
Dig a hole wide enough to spread the roots without bunching them together, and position the crown near the soil surface. Avoid planting it too deeply. Fill the hole, gently firm the soil, and water thoroughly.
The result may look rather modest compared with the large clump you started with. Give it time.
Those smaller divisions now have room to establish themselves, and that extra breathing space can lead to stronger plants and better flowering in the seasons ahead.
Adjust Watering as Temperatures Begin to Drop
Once fall arrives, you can usually water daylilies less often. The soil stays damp longer in cooler weather, especially when shorter days and seasonal rain reduce moisture loss. Still, don’t let daylilies go into winter with completely dry soil, so don’t stop watering based on the calendar alone.
A quick soil check will tell you more than a fixed watering schedule. Push a finger a couple of inches into the ground near the plant. If the soil feels damp, wait before watering again. When it feels noticeably dry, soak the area until water reaches the roots.
Established daylilies are fairly forgiving and may get all the moisture they need from fall rainfall. During an unusually dry fall, however, they can still benefit from occasional deep watering.
Recently divided and transplanted daylilies need a little more attention. Their roots have just been lifted, separated, and replanted, which temporarily makes it harder for them to take up water. Check these plants regularly for the first few weeks and keep the soil from drying out for long periods.
Aim for moist soil, not constantly wet soil. If you can squeeze a handful of soil and water drips from it, there is probably more moisture than the daylilies need. This can become a bigger issue in heavy clay or low spots where water drains slowly.
As freezing weather gets closer, watering will naturally become less frequent. If fall has been very dry, give the bed a good soak before the ground freezes. This is particularly worthwhile for plants that went into the ground recently.
You can also reduce fertilizer use at this point in the year. A high-nitrogen fertilizer applied late in the season may encourage soft new leaves just as the plant should be preparing for cold weather.
Unless a soil test shows a specific need, there is usually no reason to push daylilies into fresh growth in fall. Keeping an eye on soil moisture matters far more.
Add Mulch for Winter Protection
Daylilies have a reputation for being tough, and established plants often get through winter without much help. Mulch can still help, but whether you need it depends on your climate, the plants’ age, and when you planted them.
Recently divided or transplanted daylilies have the most to gain from some extra protection. Their roots have not had as much time to settle into the soil, which can make them more vulnerable during their first winter.
Mulch also helps where winter temperatures regularly move above and below freezing. As wet soil freezes and thaws repeatedly, it can shift enough to lift a plant slightly out of the ground. This is known as frost heaving, and it can leave part of the crown or root system exposed.
You don’t need to pile mulch onto the bed on the first cool night. Wait until cold weather becomes more consistent and the plants are moving into dormancy.
Shredded leaves, pine needles, clean straw, and other loose organic materials work well. Spread about 2 to 4 inches over the soil around the daylilies. You want enough material to reduce rapid changes in soil temperature, but not so much that the crowns disappear under a thick, wet pile.
Avoid pressing mulch tightly around the base of each plant. Air should still be able to move through the material, and water should be able to drain away instead of collecting around the crown.
In warmer regions, established daylilies may need little or no winter mulch. Adding a thick layer simply because it is fall can keep the area unnecessarily damp, especially during a rainy winter. Gardeners dealing with colder winters, newly planted daylilies, or exposed planting sites have more reason to use it.
Mulch also needs some attention when winter is over. As new shoots appear in spring, pull back any thick material covering the crowns.
Do it gradually if freezing nights are still possible. Once the weather settles, move excess mulch aside or thin it so new foliage has room to grow.
Prevent Pests and Disease Before the Growing Season Ends
As daylily leaves start dying back, it is easy to assume that every yellow patch or brown mark is simply part of fall. Often it is. But this is also a good time to spot problems that may have gone unnoticed while the plants were flowering.
Take a look at the leaves before cutting them off. Normal fall foliage generally fades and dries as a whole+963. Odd streaks, clusters of spots, or orange powder on otherwise green leaves deserve a closer look.
Daylily leaf streak can leave yellow marks that gradually turn brown, while daylily rust often shows up as yellow or orange spots. With rust, rubbing the affected area may leave orange powder on your fingers.
If you find leaves that appear diseased, remove them rather than letting them fall and remain around the crown. Some disease-causing organisms can survive on old plant material, so leaving infected foliage in the bed can create trouble later.
The same thinking applies to the mess that gathers underneath a mature daylily. A few fallen leaves are nothing to worry about, but a thick, damp layer of decaying foliage gives slugs and snails plenty of cover. Rake or pick out the excess while you are doing the rest of your fall cleanup.
Pull nearby weeds at the same time. It is a small job now and one less job waiting when the garden wakes up in spring.
If one plant looks unhealthy, clean your pruning shears before using them on the next one. You do not need anything complicated. The important point is to avoid carrying contaminated plant material from one clump to another on dirty blades.
Resist the urge to spray healthy plants as a precaution. A daylily bed does not automatically need pesticides or fungicides before winter.
Good cleanup is the more sensible starting point. Remove foliage that looks diseased, get rid of rotting debris, and deal with pests only when you actually find evidence of them.
Final Thoughts
Daylilies are forgiving plants, which is one reason they remain popular in gardens year after year. They do not need an elaborate fall routine to make it through winter.
Most of the work comes down to good timing. Wait for foliage to decline before cutting it back, watch soil moisture, and give recently divided plants enough time to establish themselves before freezing weather arrives. Mulch where winter conditions make it useful, rather than covering every daylily simply because fall has arrived.
Before you finish for the season, clear away weeds, unhealthy foliage, and soggy debris around the plants.
Then you can mostly leave your daylilies alone.
They may not look like much once winter arrives, particularly if you grow dormant varieties. Beneath the soil, however, the crowns and roots remain in place. When the ground warms again, healthy plants will begin sending up fresh foliage, starting another season of growth and flowers.