
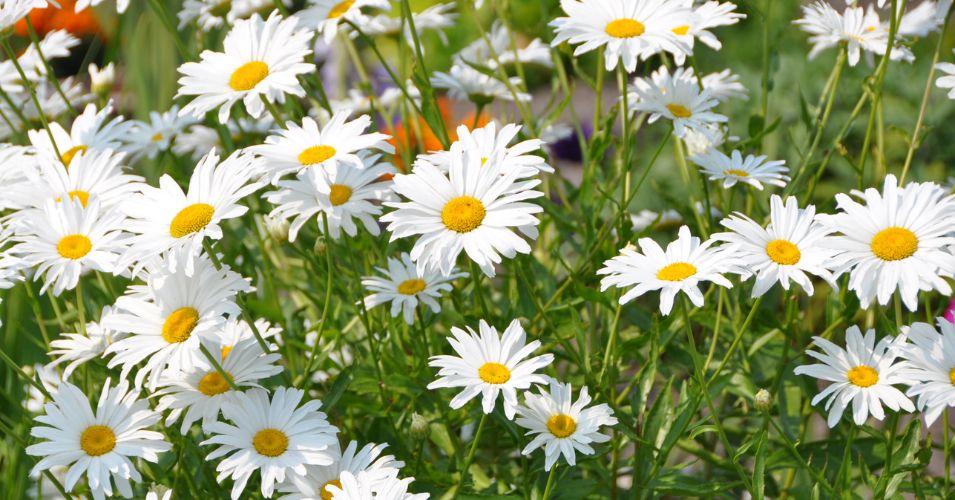
By fall, Shasta daisies can look pretty worn out. The crisp white flowers of summer fade, leaves start to yellow, and once-upright stems may lean in every direction.
It is tempting to cut everything down and call it a season, but these plants still benefit from a little attention before winter.
Fall care is not complicated. A few simple jobs, done at the right time, can keep plants healthy and set them up for a better start next spring.
From cleaning up tired growth to protecting the roots, here is what your Shasta daisies need this fall.
Give Shasta Daisies a Fall Cleanup
Shasta daisies rarely look their best by fall. After weeks of flowering, you may find dry flower heads leaning over neighboring plants, yellow leaves tucked underneath healthier growth, and stems that have flopped onto the soil.
None of this is unusual, but it is worth dealing with before winter.
Begin with the spent flowers. Once a bloom has faded and the petals have dropped, cut the flower head off with clean pruning shears. You can work through the plant gradually if some flowers are still going strong. There is no reason to remove a healthy bloom simply because September or October has arrived.
Then have a look deeper inside the plant.
Older leaves near the base often turn yellow or brown first. Remove foliage that is clearly dead, damaged, or diseased, especially if you notice spotting or a powdery coating. Shasta daisies can develop fungal problems, and you don’t want old, affected leaves sitting around the crown all winter.
Healthy green leaves are a different story. Leave those in place for now. They still do a job for the plant and don’t need to be removed as part of a general autumn tidy.
While you are working, clear away weeds and soggy plant debris from around the base. Fallen leaves can easily become trapped between dense Shasta daisy stems, particularly after wet or windy weather. A thick layer of damp debris keeps the area wetter than it needs to be and can contribute to disease problems.
Do not get carried away with the cleanup, though. Fall care does not mean stripping the plant down to bare soil at the first sign of cooler weather.
Instead, remove what is obviously finished or unhealthy and leave the rest alone. Your Shasta daisies may look less pristine than they did in June, but that is exactly what you would expect from a perennial getting ready for winter.
Know When and How Far to Cut Them Back
At some point in fall, a Shasta daisy goes from looking slightly tired to looking finished.
The flowers are gone, the stems have lost their strength, and most of the foliage has turned yellow or brown. That is usually a much better signal for cutting back than a particular date on the calendar.
If the plant is still mostly green, hold off.
Green leaves can continue photosynthesizing late into the growing season, so cutting the entire plant to the ground while it is still active is unnecessary. You can remove individual dead stems and untidy leaves without taking off all the top growth at once.
After the foliage has died back, often following a hard frost in colder climates, you can give the plant a more thorough trim. Cut the dead stems down to roughly 2 to 3 inches above the ground. Keeping a small amount of stem visible also makes it easier to remember where the plant is when the flower bed looks empty in winter.
Use sharp pruning shears rather than snapping or pulling the stems by hand. Shasta daisies grow from crowns close to the soil surface, and tugging stubborn stems can disturb the plant’s base.
Fall cutting is not compulsory, either.
Some gardeners leave dried Shasta daisy stems and seed heads standing for winter. Seed heads can attract birds, while old stems add a little structure to a garden that might otherwise look bare. If you prefer this approach, do the main cutback in late winter or early spring, before new shoots start appearing.
There is one important exception. Do not deliberately leave diseased growth standing until spring. Remove affected stems and leaves in fall and dispose of them rather than adding obviously diseased material to your regular garden compost.
So, there is no need to race outside with the pruners as soon as summer ends. Let healthy foliage carry on for as long as it can, then cut back once the plant has naturally reached the end of its season.
Divide Crowded Plants Before Winter Arrives
Shasta daisies don’t mind spreading. A small plant can gradually become a broad clump, and after three or four years, you may notice it no longer flowers as well as it once did. Sometimes the outside looks healthy while the middle becomes sparse or woody.
When that happens, division can give the plant a fresh start.
Early fall is a useful time to divide Shasta daisies in many climates because the worst summer heat has passed. However, allow several weeks before the ground is likely to freeze. The new divisions need that window to produce roots and settle into their new positions.
Water the clump the day before if the ground is dry. When you are ready to begin, push a garden fork or spade into the soil some distance from the crown and work your way around the plant. Lift the root mass carefully, bringing up as much of it as you reasonably can.
A large clump will usually separate into several pieces. Some sections may pull apart easily by hand, while older, tangled plants may need to be cut with a clean spade or garden knife.
You do not need to save every piece.
Choose vigorous sections from the outer part of the clump, making sure each one has healthy roots and shoots. If the center is woody, weak, or almost bare, it has little value and can be discarded.
Get the divisions back into the ground soon after separating them. Plant them at the same depth as the original clump, leaving enough room between plants for future growth. Water them well after planting to settle soil around the roots and remove large air pockets.
Watch soil moisture over the next few weeks, especially if rainfall is scarce.
If cold weather is already closing in, leave the plant where it is. Dividing in spring is a perfectly good alternative, and there is little to gain from disturbing an established clump just before frozen weather arrives.
Adjust Watering as the Weather Cools
The hose can usually get a little more rest once fall arrives. Lower temperatures, weaker sunlight, and shorter days mean garden soil often stays moist much longer than it did during the height of summer.
That does not mean Shasta daisies should suddenly receive no water.
A dry stretch in September or October can still leave the root zone short of moisture, especially in light or sandy soil. Instead of watering on a fixed schedule, check the ground. Feel the soil an inch or two below the surface. If the soil is damp, leave it alone; if it’s noticeably dry, watering may help.
When you do water, give the plants a decent soak. This encourages moisture to reach the roots instead of merely wetting the uppermost layer of soil.
Try to direct the water toward the base of the plant as well. Constantly soaking the leaves is unnecessary, particularly during cool weather when foliage takes longer to dry.
Rainfall will often do most of the work as fall progresses. In fact, too much moisture can become a bigger concern than too little. Shasta daisies grow best in well-drained soil, and their roots should not sit in cold, soggy ground for long periods.
Watch what happens after a heavy rain. If puddles remain around the plants for a long time, poor drainage may be the real issue. Adding routine watering to already saturated soil will not help.
Freshly divided daisies deserve more attention. Their disturbed root systems are still becoming established, so check the soil around them regularly and water when it begins to dry.
Plants growing in containers also need individual checks. A pot can dry out even when a nearby garden bed remains moist, particularly if it sits beneath an overhang where little rain reaches the soil.
As the plants die back and become dormant, watering will naturally become less frequent. There is no magic date for stopping. Let rainfall, temperature, and soil moisture decide.
Protect the Roots With the Right Winter Preparation
An established Shasta daisy growing in the ground is tougher than its delicate flowers might suggest. In many gardens, it will disappear for winter and return perfectly well in spring without elaborate protection.
In harsh winters, though, protecting the root area can help the plant through repeated freezes and sudden temperature swings.
Mulch helps here, but you don’t need to pile it on as soon as the first cool night arrives. Wait until the soil has become consistently cold. Then spread roughly 2 to 3 inches of straw, shredded leaves, pine needles, or another loose organic mulch over the root area.
This covering insulates the soil, helping keep conditions below the surface more stable as temperatures rise and fall.
Be careful around the crown, where the stems meet the roots. Mulch heaped directly against it can trap moisture, particularly during a wet winter. Leave the material loose rather than pressing it into a thick, soggy mat.
Recently divided Shasta daisies are worth watching more closely. They have had less time to establish roots before winter, so a layer of mulch can be particularly helpful if freezing weather is common where you live.
Daisies in pots face a different problem. A plant in the ground has a large volume of soil protecting its roots, while a container can freeze from several directions.
Moving pots next to a sheltered wall or somewhere protected from strong wind can reduce their exposure. Gardeners in very cold regions may need to insulate the containers or move them into a cold, protected location for winter.
Do not move them into a heated living space. Shasta daisies are perennials that naturally go dormant, and indoor warmth can interfere with that seasonal cycle.
Remember the mulch when spring comes around. Once temperatures begin to rise and new shoots appear, pull back excess material so light and air can reach the emerging growth.
After that, the plant can get on with the business of waking up again.
Final Thoughts
By fall, Shasta daisies have already done most of their work for the year. Yours is mainly a supporting role.
Remove what is dead or unhealthy, but do not rush to cut off green foliage that still has some life in it. Water when the soil is dry rather than out of habit, and give crowded clumps more space if there is enough mild weather left for divisions to establish.
As winter gets closer, a little mulch can provide useful protection in colder gardens. Container plants may also need a sheltered spot.
Beyond that, Shasta daisies don’t demand endless attention before winter. Much of fall care comes down to watching what is happening in your own garden. When the flowers fade, the foliage dies back, and growth finally stops, you can leave the plants to rest until those first green shoots return in spring.