Pruning roses can feel intimidating, especially in October when the weather starts to cool down.
But trust me, it’s easier than you might think, and once you get the hang of it, you’ll be glad you did.
October is the perfect time for this task because it helps your roses prepare for the colder months ahead.
With a little know-how, you can ensure your roses come back stronger and more beautiful next spring.
As someone who’s been pruning roses for years, I’ve learned a few things along the way that I’m eager to share with you.
Get your pruning shears ready, and let’s dive into the world of rose pruning.
Why Prune Roses in October?
You might wonder, why October?
Well, this is the month when your roses are winding down for the season.
Pruning them now helps tidy them up and prepares them for their winter dormancy.
Think of it like giving your roses a fresh haircut before a long rest.
Pruning also helps prevent diseases and pests from lingering over the winter months.
Roses can become a bit unruly by the time October rolls around, so this is the perfect chance to shape them up.
I’ve found that pruning in October, rather than waiting until spring, makes a big difference in the health and appearance of my roses.
By cutting them back now, you reduce the risk of winter damage and encourage strong new growth when the warmer weather returns.
What You’ll Need for Pruning
Before you begin, make sure you have the right tools.
You don’t need anything fancy, but quality tools will make the job easier and give you better results.
Here’s a quick list of what you’ll want to have on hand:
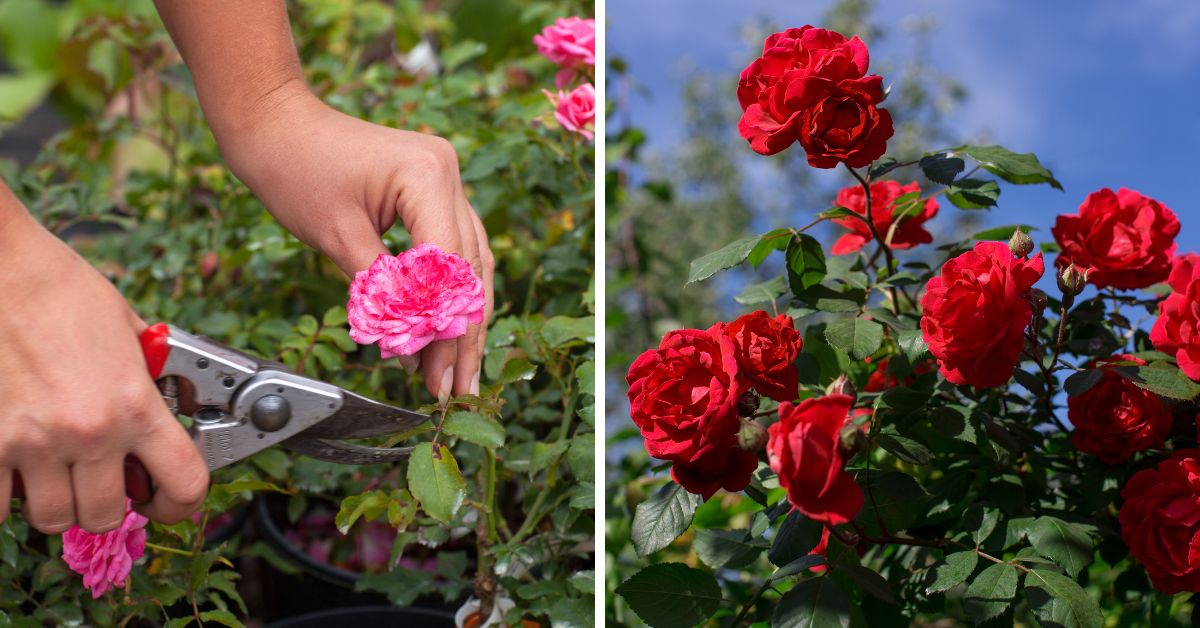
Pruning shears
A sharp pair of bypass pruning shears is ideal for cutting through rose stems.
Avoid anvil pruners, as they can crush the stems rather than giving a clean cut.
Loppers
If you have any thicker branches to deal with, a pair of loppers will make it easier to cut them.
I’ve had to use loppers a few times for older, woody stems that are too tough for shears.
Gloves
Don’t skip the gloves!
Roses have thorns, and trust me, you don’t want to spend your pruning time pulling thorns out of your fingers.
Opt for thick gardening gloves that go up past your wrists.
Disinfectant
It’s a good idea to clean your tools with disinfectant between cuts, especially if you’re dealing with diseased plants.
This helps prevent the spread of any pests or illnesses.
A tarp or bucket
Having something to collect the clippings will make your cleanup much easier.
I’ve found that using a tarp on the ground below the bush speeds up the process, and you won’t have to bend over as much.
Timing and Weather Considerations
October is a great time to prune roses, but it’s important to pay attention to the weather.
You want to prune your roses when the temperature is consistently cool, but before the first hard frost hits.
Here in the US, that could mean mid-October for some regions, or as late as early November for others.
I usually aim for late October in my garden, as the weather is cool enough, but the first frost hasn’t yet arrived.
Make sure you check your local forecast and plan accordingly.
One important thing I’ve learned is not to prune too late.
If you wait until after the frost, your roses might not have time to seal their cuts, which can leave them vulnerable to winter damage.
You also don’t want to prune when it’s raining or the plants are wet, as that can invite fungal infections.
Dry, cool days are your best bet.
How to Prune: Step-by-Step
Now that you’re ready with your tools and have checked the weather, let’s talk about how to actually prune your roses.
Follow these steps to ensure a successful pruning session.
Step 1: Remove Dead and Diseased Wood
The first thing you want to do is remove any dead or diseased wood.
These parts of the plant won’t grow back and could spread diseases to healthy parts of your roses.
You’ll recognize dead wood because it will look dry and brown.
If it snaps easily in your hand, it’s dead.
Diseased wood might have discolored patches, black spots, or moldy-looking areas.
Use your pruning shears to cut these sections away.
Be sure to cut back to healthy, green wood.
In some cases, I’ve had to cut back almost to the base of the plant, especially if a disease had spread far.
Don’t be afraid to make big cuts—it will help your plant in the long run.
Step 2: Cut Back Leggy Stems
Roses can grow long, leggy stems, especially by the end of the season.
These stems don’t support the plant well and are more likely to break in the wind or under snow.
Cut them back to about 18 to 24 inches from the ground.
You want to encourage a sturdy, compact shape that will hold up better over winter.
I usually trim mine back pretty significantly, and by spring, they come back fuller and healthier.
When making cuts, aim for a 45-degree angle.
This helps water run off the cut and prevents rot.
Always cut just above an outward-facing bud.
That way, new growth will head outward rather than into the center of the plant, keeping the bush open and airy.
Step 3: Thin Out the Center
Another important step in pruning is to thin out the center of the rose bush.
You want to create good air circulation, which helps prevent diseases like mildew and black spot.
Remove any branches that are crossing or growing inward.
I always try to keep the center of the bush open and free of tangled branches.
This allows sunlight to reach the middle of the plant and promotes healthy growth.
One thing I’ve learned is that an open center helps avoid fungal issues, which can be a problem for roses, especially in damp weather.
It may seem drastic to cut out so much, but it’s better for your plant in the long run.
What to Do with Clippings
Once you’ve finished pruning, you’ll likely have a decent pile of clippings.
Don’t just leave them lying around in your garden.
Diseases and pests can hang around in dead leaves and stems, so it’s important to clean up properly.
I always gather my clippings in a tarp or bucket and dispose of them in my green waste bin.
If any of the clippings were diseased, don’t compost them.
You don’t want to spread that disease back into your garden next year.
Burning diseased material is another option if that’s allowed where you live.
I’ve found that being thorough with cleanup makes a big difference in the health of my roses the following season.
Mulching for Winter Protection
After pruning, I like to give my roses a little extra protection as they head into the colder months.
Mulching around the base of the plants helps insulate the roots and prevents them from freezing during winter.
I usually use a couple of inches of organic mulch, like straw or shredded leaves.
Not only does it help keep the soil temperature steady, but it also adds nutrients to the soil as it breaks down.
If you live in an area with particularly harsh winters, you can even mound the mulch up higher around the base of the plant.
I’ve done this in years when we’ve had especially cold winters, and it’s helped my roses survive with minimal damage.
Common Mistakes to Avoid
Pruning can seem straightforward, but there are a few common mistakes that can cause problems for your roses.
One mistake I made early on was pruning too much at once.
I thought I was helping my roses by cutting them back severely, but they struggled to recover in the spring.
Now, I aim for balance—removing just enough to shape the plant and keep it healthy, without overdoing it.
Another mistake is cutting too close to the bud.
If you cut right on top of a bud, it can die back.
Instead, leave about a quarter-inch of stem above the bud to ensure healthy new growth.
Lastly, not cleaning your tools between cuts, especially when dealing with diseased plants, can spread infections.
It’s a small step, but wiping your shears with a disinfectant can make a huge difference in the overall health of your roses.
Final Thoughts
Pruning roses in October is one of those gardening tasks that can seem a bit daunting at first, but once you know the basics, it’s actually quite simple.
The key is to approach it with a plan: remove dead and diseased wood, cut back leggy stems, and thin out the center.
With the right tools and a little care, you’ll help your roses stay healthy through the winter and come back stronger in the spring.
Over the years, I’ve found that taking the time to prune my roses properly in October makes a world of difference.
My roses bloom more profusely, have fewer issues with disease, and look much tidier overall.
So, if you’ve been putting off pruning, now’s the time to grab those shears and give it a go.
Your roses will thank you next year!