Clematis is a gorgeous climber that can add stunning vertical interest to your garden, but it requires some extra attention as winter approaches.
September is the perfect time to prepare your clematis for the cold months ahead, ensuring it remains healthy and ready to bloom beautifully in spring.
With the right pruning, protection, and care, you can help your clematis survive the winter and thrive when the warmer weather returns.
In this guide, I’ll share practical tips and personal experiences to help you care for your clematis during this crucial transition period.
By following these steps, you’ll be giving your plant the best chance to stay strong through the colder months and reward you with a vibrant display in the spring.
Let’s dive into how you can protect and nurture your clematis this September!
Know Your Clematis Type
Before you dive into your September clematis care, it’s important to know which type of clematis you’re dealing with.
Clematis is categorized into three main groups, and understanding the differences can help you make better decisions when it comes to pruning and preparing for winter.
Group 1: Early Flowering Clematis – These varieties bloom on old wood, meaning the flowers that appear next spring are formed on growth from the previous year.
Examples include Clematis montana and Clematis armandii.
For these clematis varieties, it’s important not to prune too heavily in September, as cutting back too much will remove the stems that will produce flowers the following season.
Group 2: Large Flowering Clematis – These clematis varieties bloom on both old and new wood, giving you a bit more flexibility in how and when you prune.
Common varieties like Clematis ‘Nelly Moser’ and Clematis ‘The President’ can benefit from a light trim in September to remove dead or weak growth.
Group 3: Late Flowering Clematis – This group blooms on new wood, meaning you can prune them back more heavily in the fall without worrying about sacrificing next year’s flowers.
Popular varieties in this category include Clematis viticella and Clematis texensis.
Knowing which type of clematis you have is crucial to ensuring you take the right steps for its care in September.
I’ve made the mistake in the past of treating all clematis the same, pruning too much off a Group 1 variety in the fall and ending up with few flowers the next spring.
Once I learned to differentiate between the types, my clematis began to thrive.
Prune Carefully for Winter Survival
Pruning is a vital part of preparing clematis for winter, but the approach you take depends on the type of clematis you have.
Pruning in September helps the plant remain tidy through the winter and prevents it from becoming overgrown, which can make it more vulnerable to the elements.
For Group 1 clematis (early bloomers), pruning should be minimal.
Since these clematis bloom on old wood, most of the pruning should be done right after they flower in spring or early summer.
In September, simply remove any dead or damaged stems, and tidy up the plant without cutting back too far.
Group 2 clematis can handle a bit more pruning in September.
These plants bloom on both old and new wood, so you want to trim lightly to remove weak growth but avoid cutting too much, as it could affect next spring’s blooms.
Group 3 clematis, which bloom on new wood, can handle a heavier prune in September.
You can cut these varieties back to about 12-18 inches above the ground, which encourages strong new growth next year.
Since these clematis bloom on the current year’s growth, you don’t have to worry about removing flower buds for the next season.
When I first started growing clematis, I made the mistake of over-pruning my Group 1 clematis in the fall, thinking I was helping the plant.
The following spring, I had far fewer blooms than expected.
After learning the correct pruning techniques, I’ve had much more success in keeping my clematis healthy and full of flowers.
Mulch for Root Protection
Mulching is an important part of preparing your clematis for winter, especially in regions with colder winters.
Mulch acts as a protective layer, helping to insulate the roots from freezing temperatures and preventing moisture loss during the dry winter months.
In September, apply a thick layer of organic mulch around the base of your clematis.
I typically use materials like shredded bark, straw, or leaf mold, which decompose slowly and provide good insulation.
Spread the mulch about 2-3 inches thick around the plant’s base, but be sure to leave a gap around the stems to avoid trapping moisture against the plant, which can lead to rot.
In my own garden, mulching has made a noticeable difference in helping my clematis survive harsh winters.
One year, I skipped mulching one section of my garden, and the clematis in that area struggled the following spring, with far less vigorous growth.
After that experience, I always make sure to mulch around my clematis in September.
Mulch also helps with weed suppression and moisture retention, which is particularly useful during the fall and early winter when rainfall can be unpredictable.
By mulching in September, you’re giving your clematis the best chance to thrive despite cold temperatures.
Water Sparingly as Temperatures Drop
As September progresses and the weather cools, you should begin to reduce the amount of water you give your clematis.
Lavishing your clematis with too much water as the temperatures drop can lead to waterlogged soil, which is dangerous for clematis, especially in the winter when the plant is dormant.
By September, I typically begin watering my clematis less frequently, allowing the top few inches of soil to dry out between waterings.
This approach helps the plant gradually adapt to the cooler conditions and reduces the risk of root rot.
If your clematis is in a pot, you’ll need to be extra cautious.
Pots tend to dry out faster, but they also hold water longer when the temperatures drop.
Check the drainage of your potted clematis and ensure that water isn’t pooling at the bottom.
One year, I lost a clematis because its pot didn’t drain well, leading to soggy soil and rotting roots.
When you’re unsure whether to water, it’s always better to err on the side of underwatering when it comes to clematis in the fall.
Overwatering during this time can cause more harm than good.
Support the Vines Against Winter Winds
Clematis vines are delicate and need sturdy support, especially as the weather turns harsher.
In September, take the time to check your trellises, fences, or other support structures and ensure that your clematis vines are securely tied to them.
Loose vines can be whipped around by strong winter winds, potentially snapping or breaking under the stress.
Use soft garden ties or twine to gently secure any loose vines to their support.
Be careful not to tie the plant too tightly, as you want to allow some natural movement in the wind without causing damage to the stems.
One year, I failed to secure my clematis vines properly, and a particularly strong winter storm caused several of the stems to snap.
Since then, I always make sure to check the supports in September and reinforce any areas that need extra stability.
If your clematis is growing on a lightweight structure like netting or a wire trellis, it might be worth reinforcing it before winter hits.
Stronger winds can easily knock over weaker supports, causing damage not just to the structure but also to the plant.
Stop Fertilizing in the Fall
By September, you should stop feeding your clematis.
Fertilizing this late in the season can encourage new, tender growth that won’t have time to harden off before winter arrives.
This new growth is particularly susceptible to frost damage and can weaken the plant overall.
I’ve made the mistake of fertilizing too late in the season, thinking that it would help the plant store more nutrients for winter.
Instead, it resulted in soft new shoots that were easily damaged by the first frost.
Now, I stop fertilizing by mid-August, allowing the plant to focus on preparing for dormancy rather than producing new growth.
The best time to fertilize clematis is in the spring when the plant is waking up from its winter dormancy.
By giving the plant a rest in the fall, you’re helping it conserve energy and harden off its existing growth for winter.
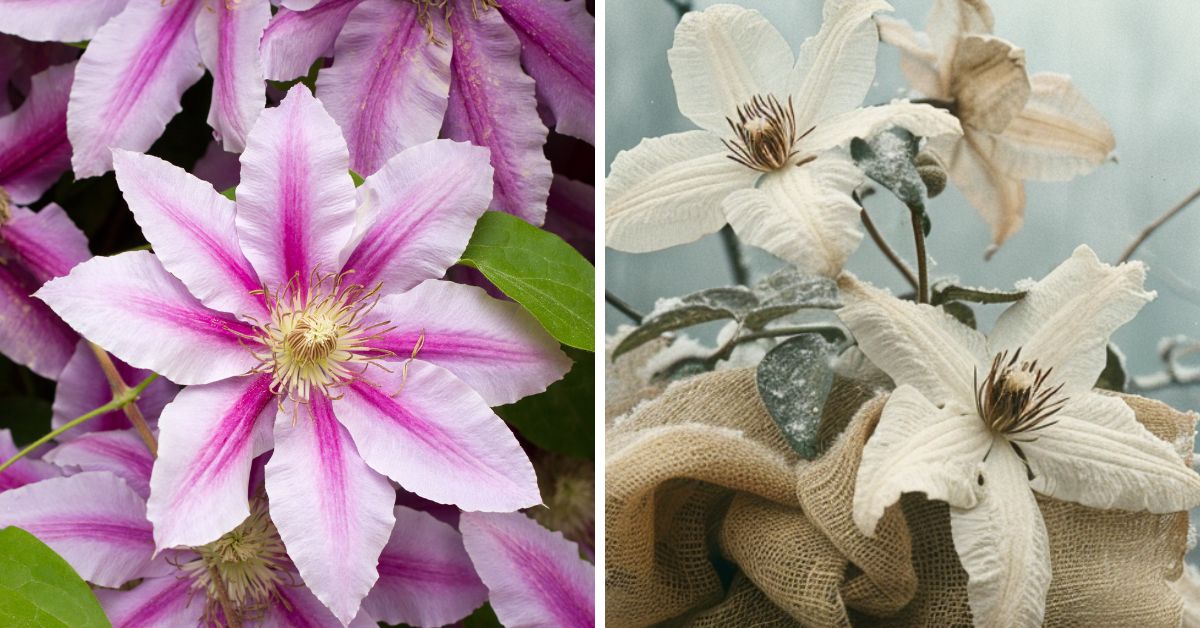
Protect the Base of the Plant from Frost
The base of your clematis, particularly the crown where the stems meet the soil, is the most vulnerable part of the plant during the winter months.
In September, it’s a good idea to take steps to protect this area from frost.
One easy method is to mound extra soil, mulch, or straw around the base of the plant to insulate it.
This helps trap warmth and protect the roots from sudden temperature drops.
In colder regions, you might also consider wrapping the base of the plant with burlap or using a frost cloth for added protection.
In my garden, I’ve noticed that the plants I took extra care to insulate around the base always seem to emerge from winter healthier and with stronger growth than those that didn’t receive this treatment.
It’s a small step, but it can make a big difference, especially if you’re in an area prone to early frosts.
Inspect for Pests and Diseases
Even though the temperatures are cooling down, pests and diseases can still pose a threat to your clematis in the fall.
September is the perfect time to inspect your plants and deal with any issues before winter sets in.
Common pests that can affect clematis include aphids, spider mites, and scale insects.
If you notice sticky residue on the leaves or discolored spots, these pests may be present.
You can treat infestations with insecticidal soap or neem oil.
Fungal diseases like powdery mildew can also be a concern in the cooler, wetter months of fall.
Ensure your clematis has good air circulation and isn’t overcrowded by other plants to prevent fungal issues.
In my own experience, catching these problems early in September has helped me avoid larger issues later in the season.
Regular inspections can save you a lot of headaches come spring.
Prepare Potted Clematis for Winter
If you’re growing clematis in pots, they need a bit of extra attention to survive the winter.
Potted plants are more vulnerable to temperature fluctuations since the roots are more exposed to the elements.
In September, consider moving your potted clematis to a more sheltered spot, such as against a sunny wall or under a porch.
This provides protection from cold winds and keeps the roots warmer.
You can also wrap the pots in burlap, bubble wrap, or even an old blanket to provide additional insulation.
I’ve had great success keeping my potted clematis healthy through winter by moving them to sheltered locations and wrapping the pots.
This small effort has helped avoid root freezing, which can be a major issue for container-grown clematis.
If temperatures are expected to drop significantly, you might also consider bringing your potted clematis into a garage or cold frame for extra protection.
Just be sure they still get enough light to remain healthy.
Final Thoughts
September is the perfect time to prepare your clematis for the winter months ahead.
By pruning carefully, mulching for root protection, reducing water, and checking for pests and diseases, you’re giving your plant the best possible chance to survive the winter and emerge stronger in the spring.
In my years of gardening, I’ve learned that a little bit of preparation goes a long way.
By taking the time to follow these steps, your clematis will thank you with a healthier plant and more vibrant blooms in the upcoming season.
With these strategies in place, you can rest assured that your clematis will weather the winter months and greet you with a beautiful display of flowers next year.
So, take action this September and give your clematis the care it needs—it will reward you when the warmer days return!